| Front Page |  |
| Deployment | |
| Aesthetic | |
| Refurbishing | |
| Connecting | |
| Communicating | |
| Manuals | |
| Rentals | |
| Supplies | |
| About Aetheric |
Restoring a Teletype Model 14
The first printing telegraph was developed in 1841. By the 1870s, printing telegraphs, in the form of "stock tickers", were in use in financial centers. These Victorian-era machines printed letters on a long, narrow paper tape.
The Teletype Model 14 continued that tradition of printing on a paper tape. We have acquired a Teletype Model 14 tape printer, a model which first appeared in 1924. This specific machine dates from 1929.
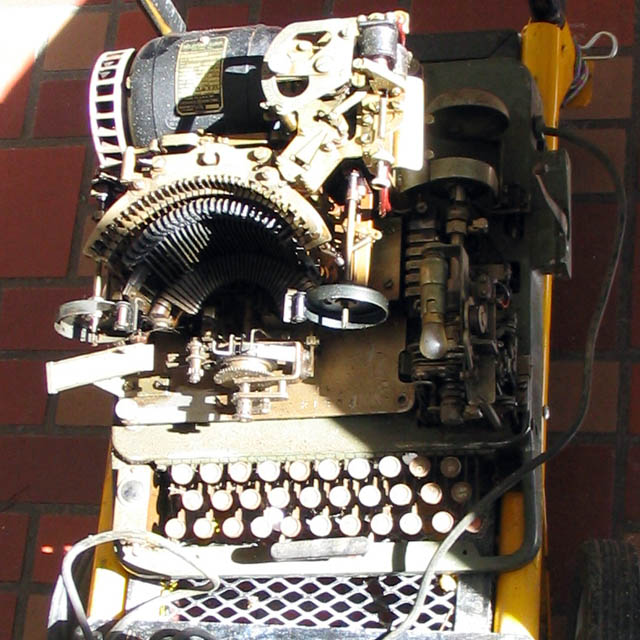 |
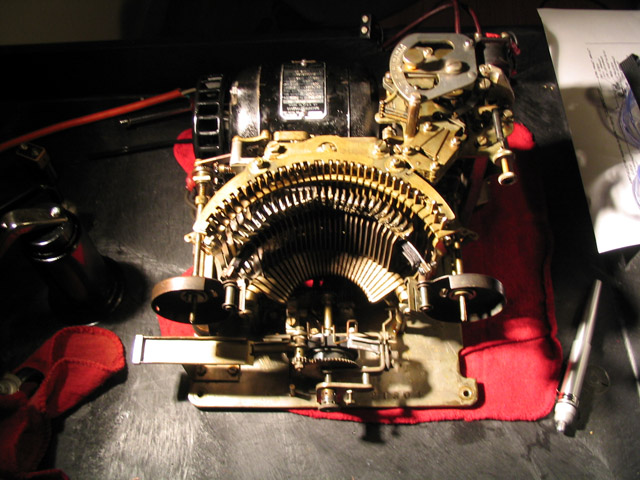
Model 14 Teletype, before refurbishment. The machine is dirty and somewhat rusted, but not seriously damaged. The mechanism could be hand-cranked, though parts were binding. The motor would run, but its centrifugal starting switch was arcing. |
We started with this Model 14 Teletype. This particular unit was produced in 1929, and was somewhat damaged, dirty, and rusted. Congealed lubricants had jammed key parts of the mechanism, and it was not functioning. So the first step was a thorough cleaning.
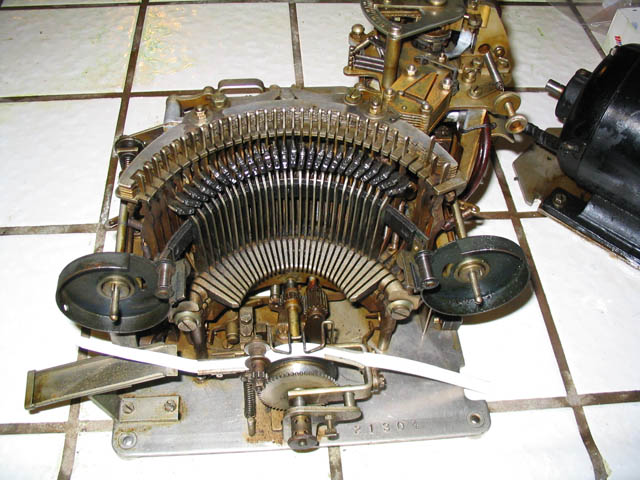 |
The typing unit, after initial cleaning The typing unit has been removed from the base. The typing unit, motor, and selector magnet can run as a standalone receive-only unit. The keyboard is optional. There's some damage. The paper exit chute, to the left, is bent. A retaining screw for the typebar backstop is missing. And a spring in the shift mechanism is also missing. |
We first tried a light cleaning. We removed the motor, then soaked the mechanism below the selector magnet in Simple Green, which is a mild biodegradable solvent. This removed the dirt and old oil, but not the rust.
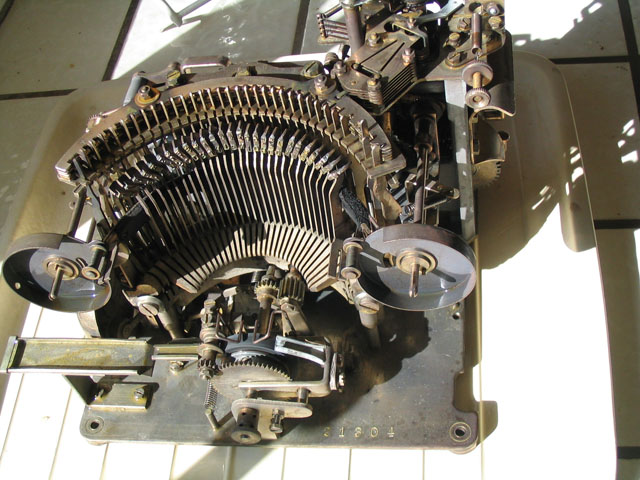 |
Typing unit after rust removal Now we're down to bare metal. Too bare. Compare the color of the ribbon spool guards with the previous image. |
We had to soak the typing mechanism in Evapo-Rust. Evapo-Rust is a chelating agent - it attacks oxides, but not un-rusted metal. The metal must be entirely submerged in the liquid, or rust will form at the liquid/air interface.
Evapo-Rust, unfortunately, will strip some protective coatings from metal. We think that many Teletype parts were Parkerized, an early rust-prevention treatment. Our cleaning job stripped the protective coating and left us with a clean, bare metal surface. Now we had a clean machine to work on. We would later need to either oil or apply rust preventative to all metal parts. We also removed, straightened, and re-installed the bent paper exit guide at the left side.
 |
Typing unit reassembled, almost ready to test. The motor has been reattached, the exit chute straightened, and the selector magnet connected. |
 |
Meanwhile, the base and keyboard get some attention All the wiring in the base needs replacement. |
The keyboard was badly rusted. We had to use Simple Green and Evapo-Rust, wire-brush the chrome key tops with a brass brush, and polish with a Dremel polishing wheel.
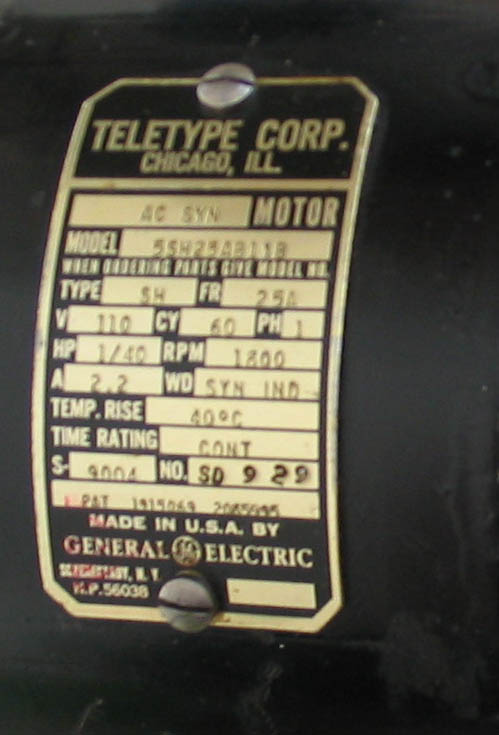 |
Original motor data plate Apparently manufactured in September, 1929, in, of course, Schenectady, NY, USA. This motor would run, but its centrifugal starting switch was arcing and producing ozone. The insulation was flaking. Not good. |
The motor had some problems. While it would run, it arced and produced ozone. This is an AC synchronous motor, so in normal operation there should be no contact problems. Arcing indicates a problem with the centrifugal starting switch. After contacting some Teletype experts, we discovered that this is a known problem with deteriorating insulation. We found a motor shop willing to repair the motor. However, since Teletype motors are compatible across a wide range of machines dating from 1924 to 1959, replacement motors are available.
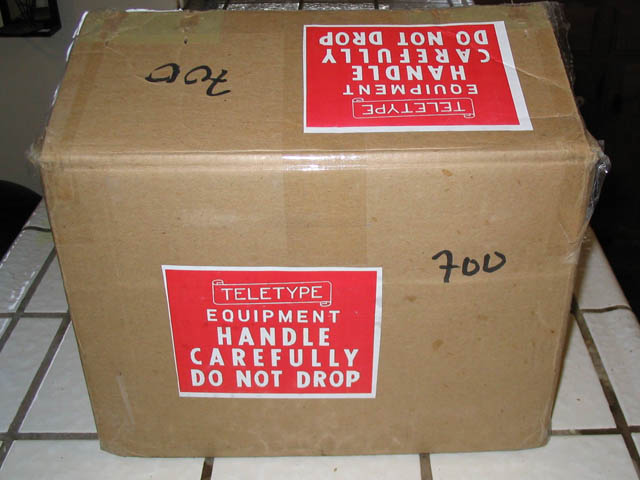 |
A new motor arrives. Teletype motors aren't that hard to find. This is from another collector. |
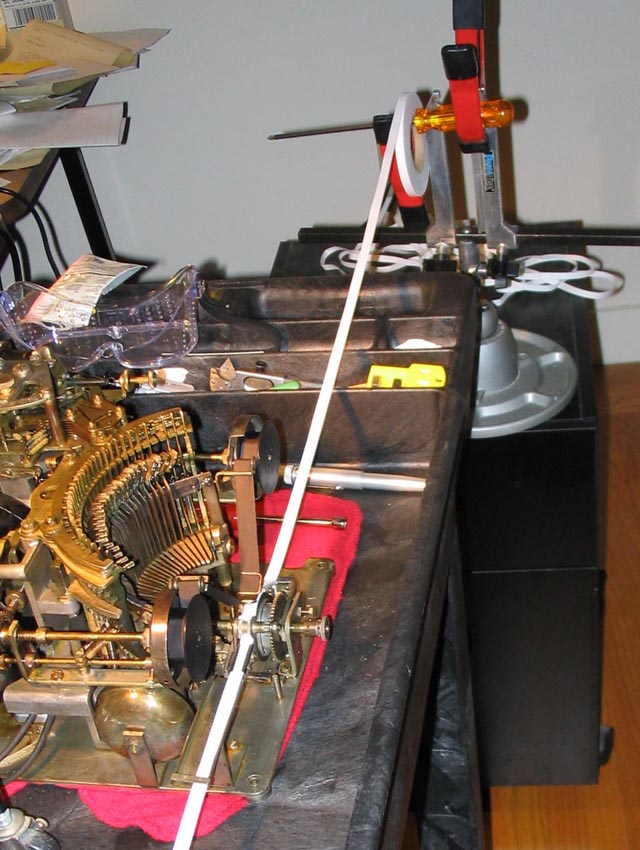 |
Bench test setup Assembled, provided with paper tape and a standard Underwood typewriter ribbon, and ready for testing. |
With the new motor in place, the machine cycles, but does not print correctly. We carefully adjust the selector magnet until the clearance is approximately right, when a thin sheet of paper will fit between magnet and selector plate when the magnet is pulled in. We really should be using feeler gauges for this. Now the typebars will operate, and we send the usual RYRYRY pattern, oiling sticky parts until the code bars properly alternate on every cycle.
We then discover that the machine is stuck in LTRS shift. In this machine, shifting is accomplished by moving the paper roller, guides, and tape forward and backward, so that the upper or lower character on a typebar hits the paper. That's not happening. After some study of the manual, we notice that the pin which shifts the paper roller is on the wrong side of the yoke that drives it. Something probably banged on the end of the paper roll shaft and knocked the pin out of its yoke. We get the parts back into proper mesh, and the unit now shifts from LTRS to FIGS as appropriate.
 |
First fully successful typing Note the rust. This is not original rust, this is new rust. Recall that our use of Evapo-Rust has stripped the Parkerizing, and we've been cleaning with water-based solvents. So we now have a new rust problem. We had to wire-brush, oil, and use Bullfrog Rust Preventative to get this problem under control.
|
|
| FRACTIONS font? |

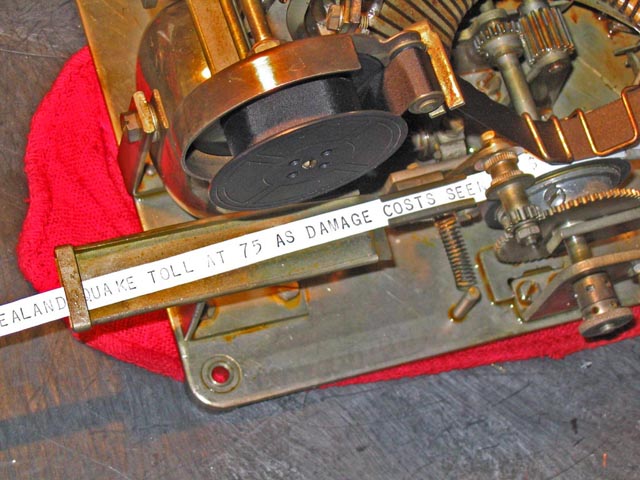
With the typing unit working, we discovered that the typing unit did not match the base and keyboard. The typing unit has the "Fractions" font, once used for order wires in the financial industry. There are typebars for 1/8, 1/4, 3/8, 1/2, 5/8, 3/4, and 7/8. Most of the usual punctuation marks are absent. The keyboard, though, has the usual USTTY character set. So we decided to make the typing unit into a standalone receive-only device.
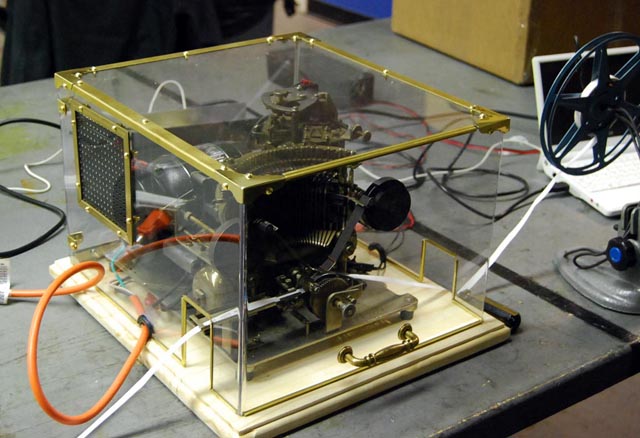 |
The new case We decided to build a completely new case for the machine, to show off the mechanism. We mounted the typing mechanism on shock mounts on a wooden board, and built a clear case with brass trim to enclose it. The "glass" case is 1/8" polycarbonate. The thin edge trim is brass "came", used in stained glass work. The case is hinged at the back. We normally use this machine as a receive-only news ticker, following RSS feeds. Here, the machine is on a bench at TechShop in Menlo Park. |
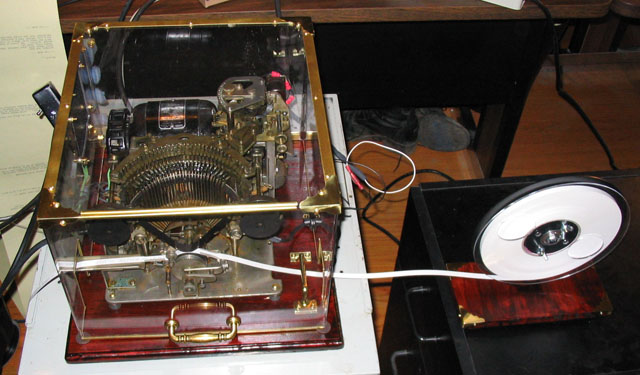 |
The aesthetics improve A tabletop router was used to put a decorative edge on the base, and staining the base board gave it the look of oak. We built a matching paper tape reel holder. The clear reel didn't quite match the aesthetic, and we now have a black reel. |
Completed and operating (video) The machine in its final state, in full operation, printing a RSS news feed. This machine was shown at the Nova Albion Steampunk Convention in 2011. |
December 31, 2015